Click “Get Started” to start the demo. Click on the fullscreen icon on the top right of the demo to zoom in
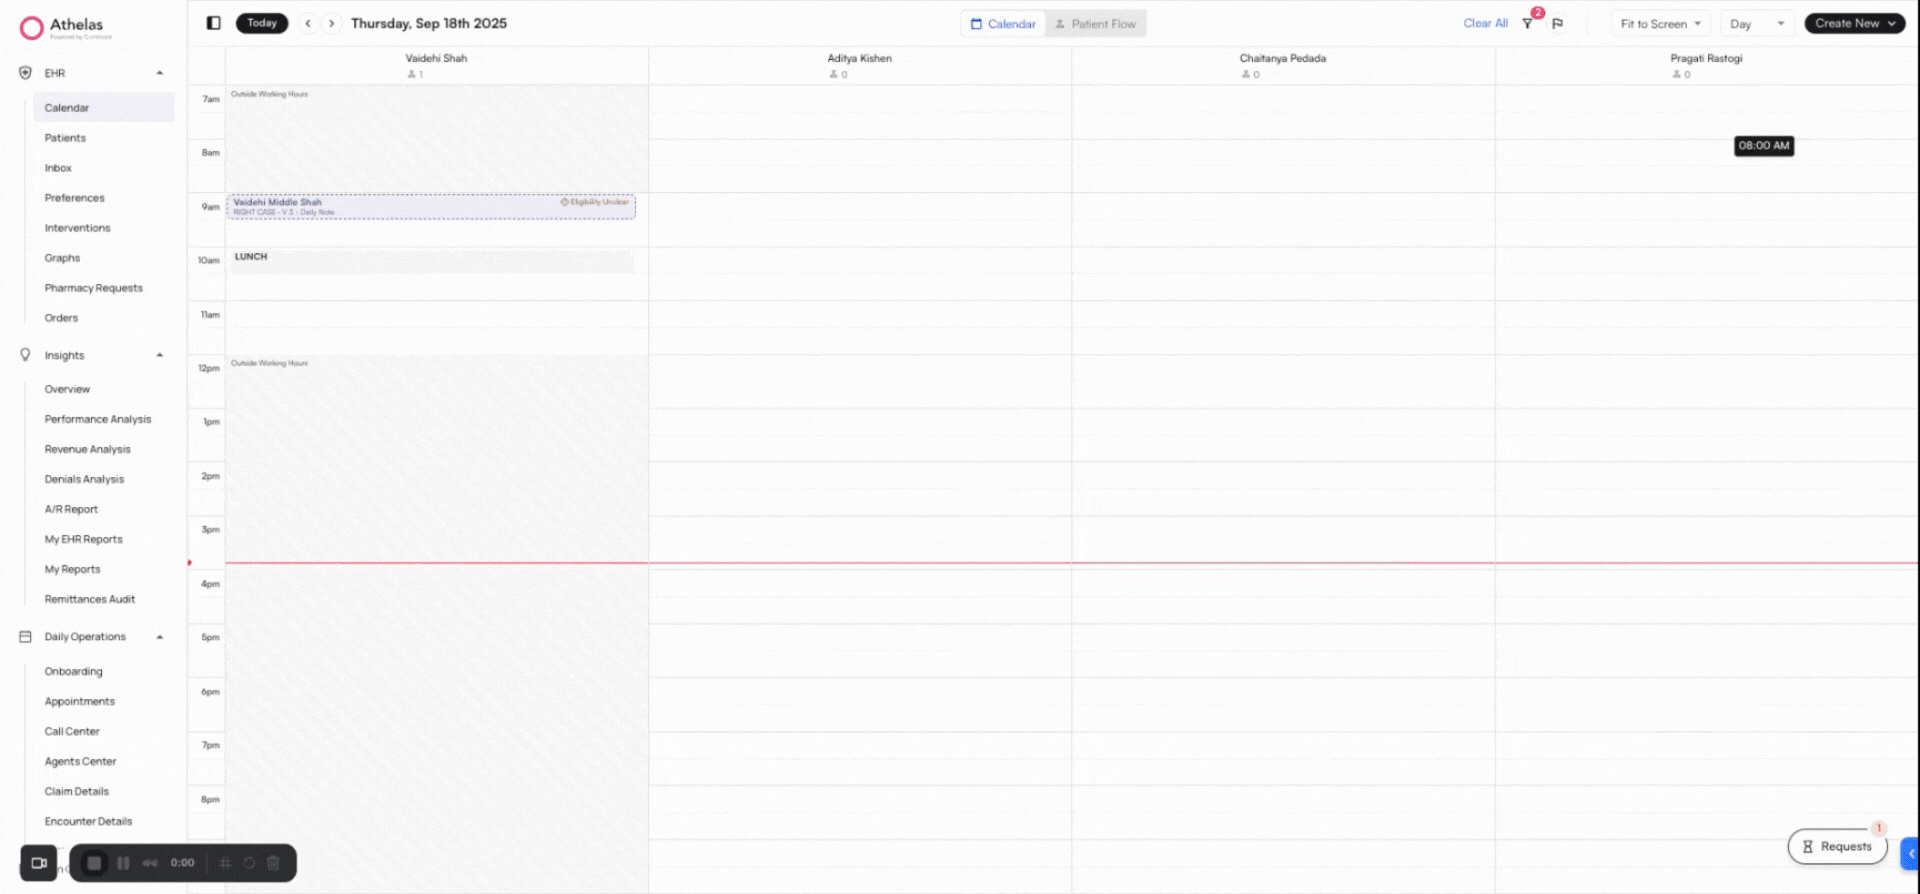
Open your Calendar
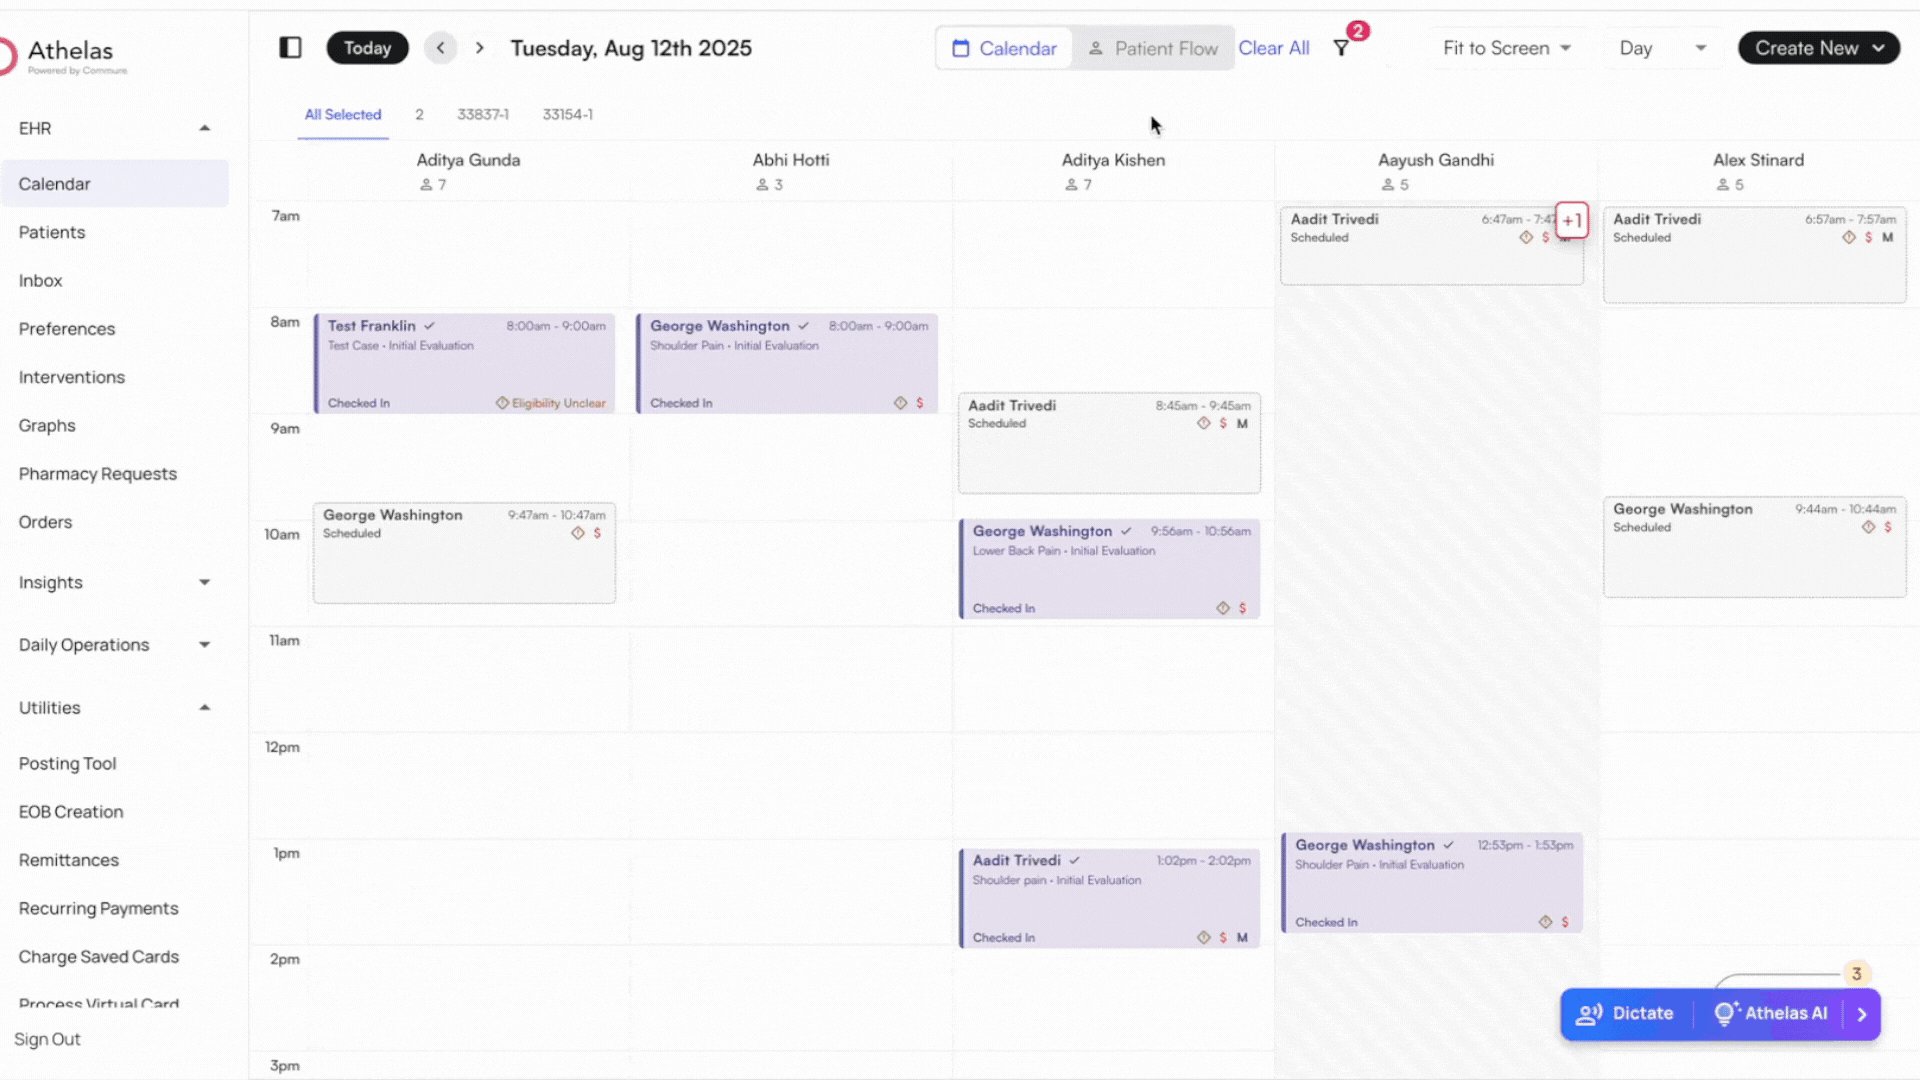
When you open the Calendar, the default view allows you to select which Providers and Facilities you want to display.You can select multiple Providers and Facilities. Once selected, the Calendar automatically updates to display the corresponding schedules.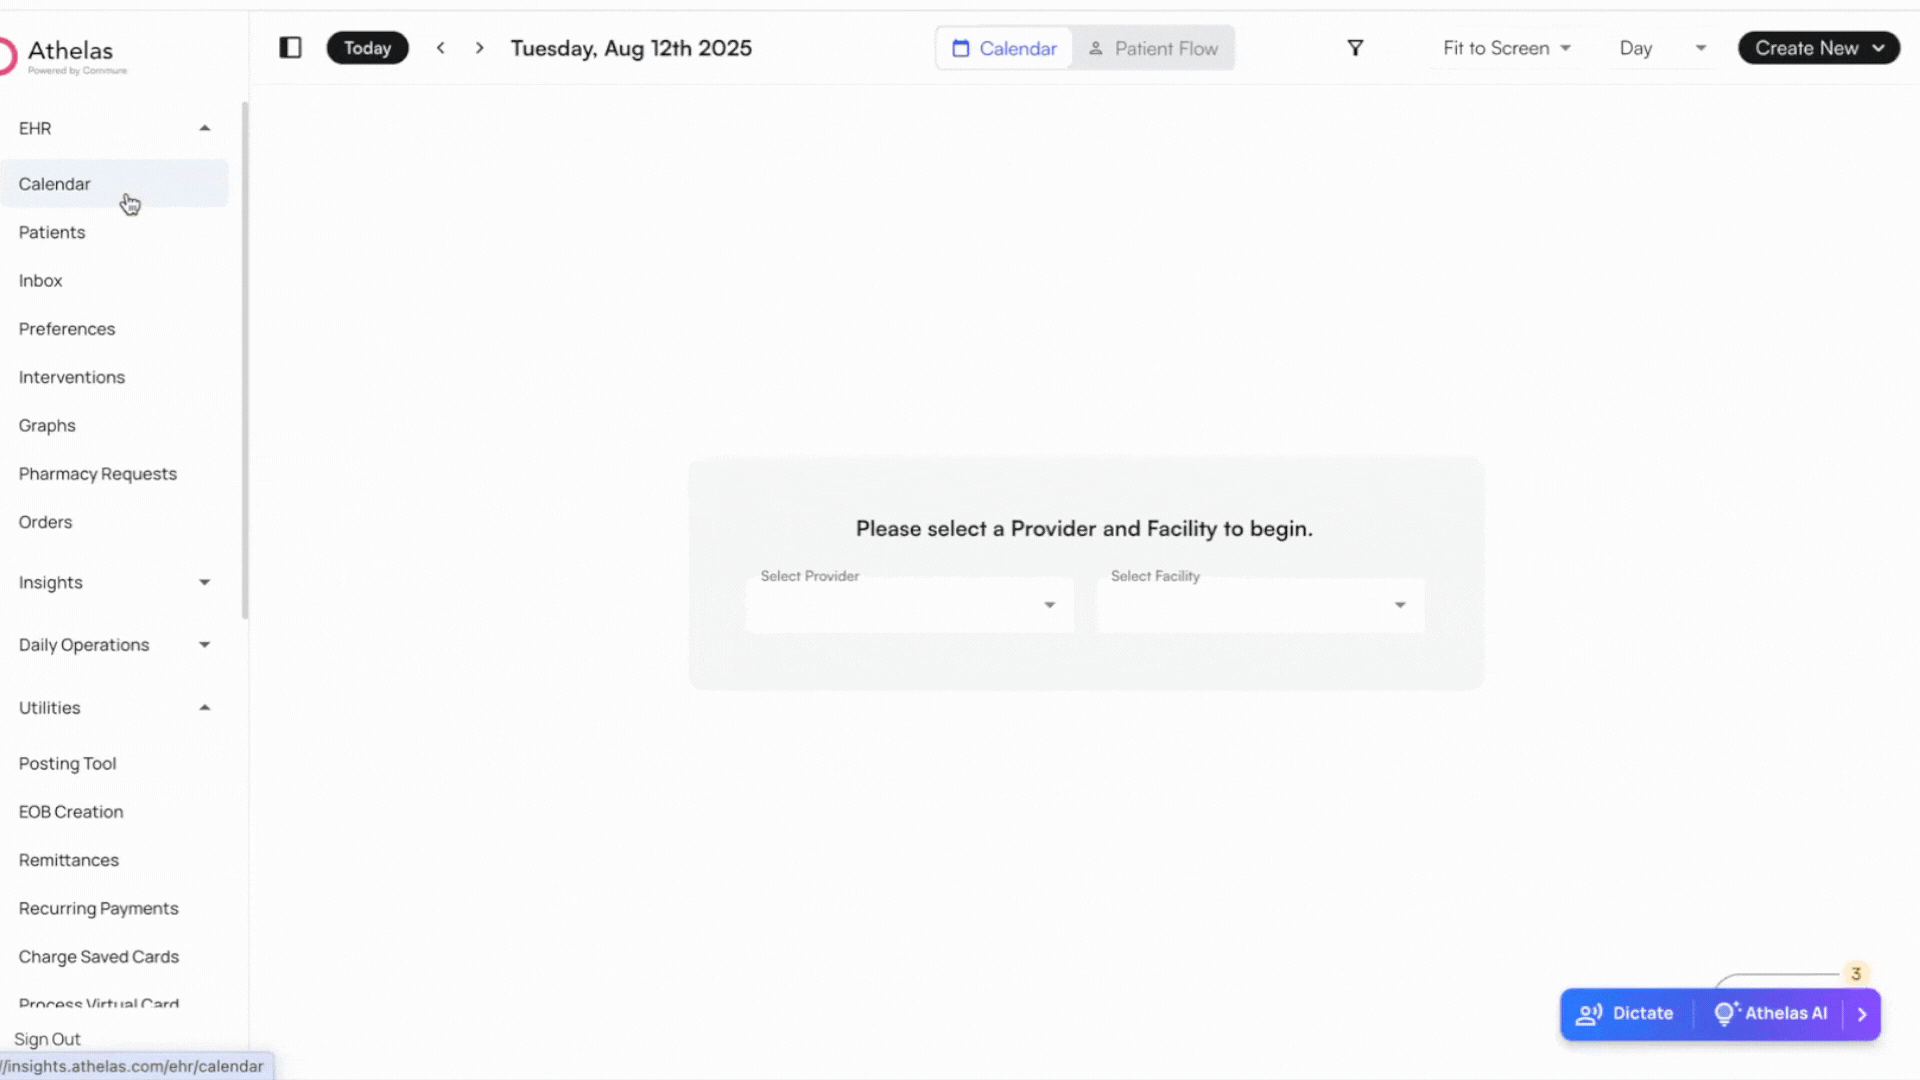
Saved Presets
- Calendar Presets
-
Save your favorite calendar filters — by provider, facility, view, and more — for one-click access.
-
Apply & save filters to focus on the information that matters most to you!
-
Switch between multiple saved views quickly and effortlessly.
-
Save your favorite calendar filters — by provider, facility, view, and more — for one-click access.
- Mini Calendar Navigation
-
Jump quickly between day, week, or month view.
-
Highlighted date shows your current selection for easy reference.
-
Jump quickly between day, week, or month view.
- Access your most-used filters instantly.
- Spend less time clicking through multiple filters, resetting them every time for the view you want.
- See an at-a-glance view of your schedule with visual highlights.
- Expanded date/month/year selection for easier navigation.
- Works across desktop and responsive devices (tablet and mobile-friendly).
Time and Compactness Preferences
Time Preferences: Switch between Day, Week, and Month views to adjust your Calendar display. Use the Today icon in the top left to instantly return to today’s date.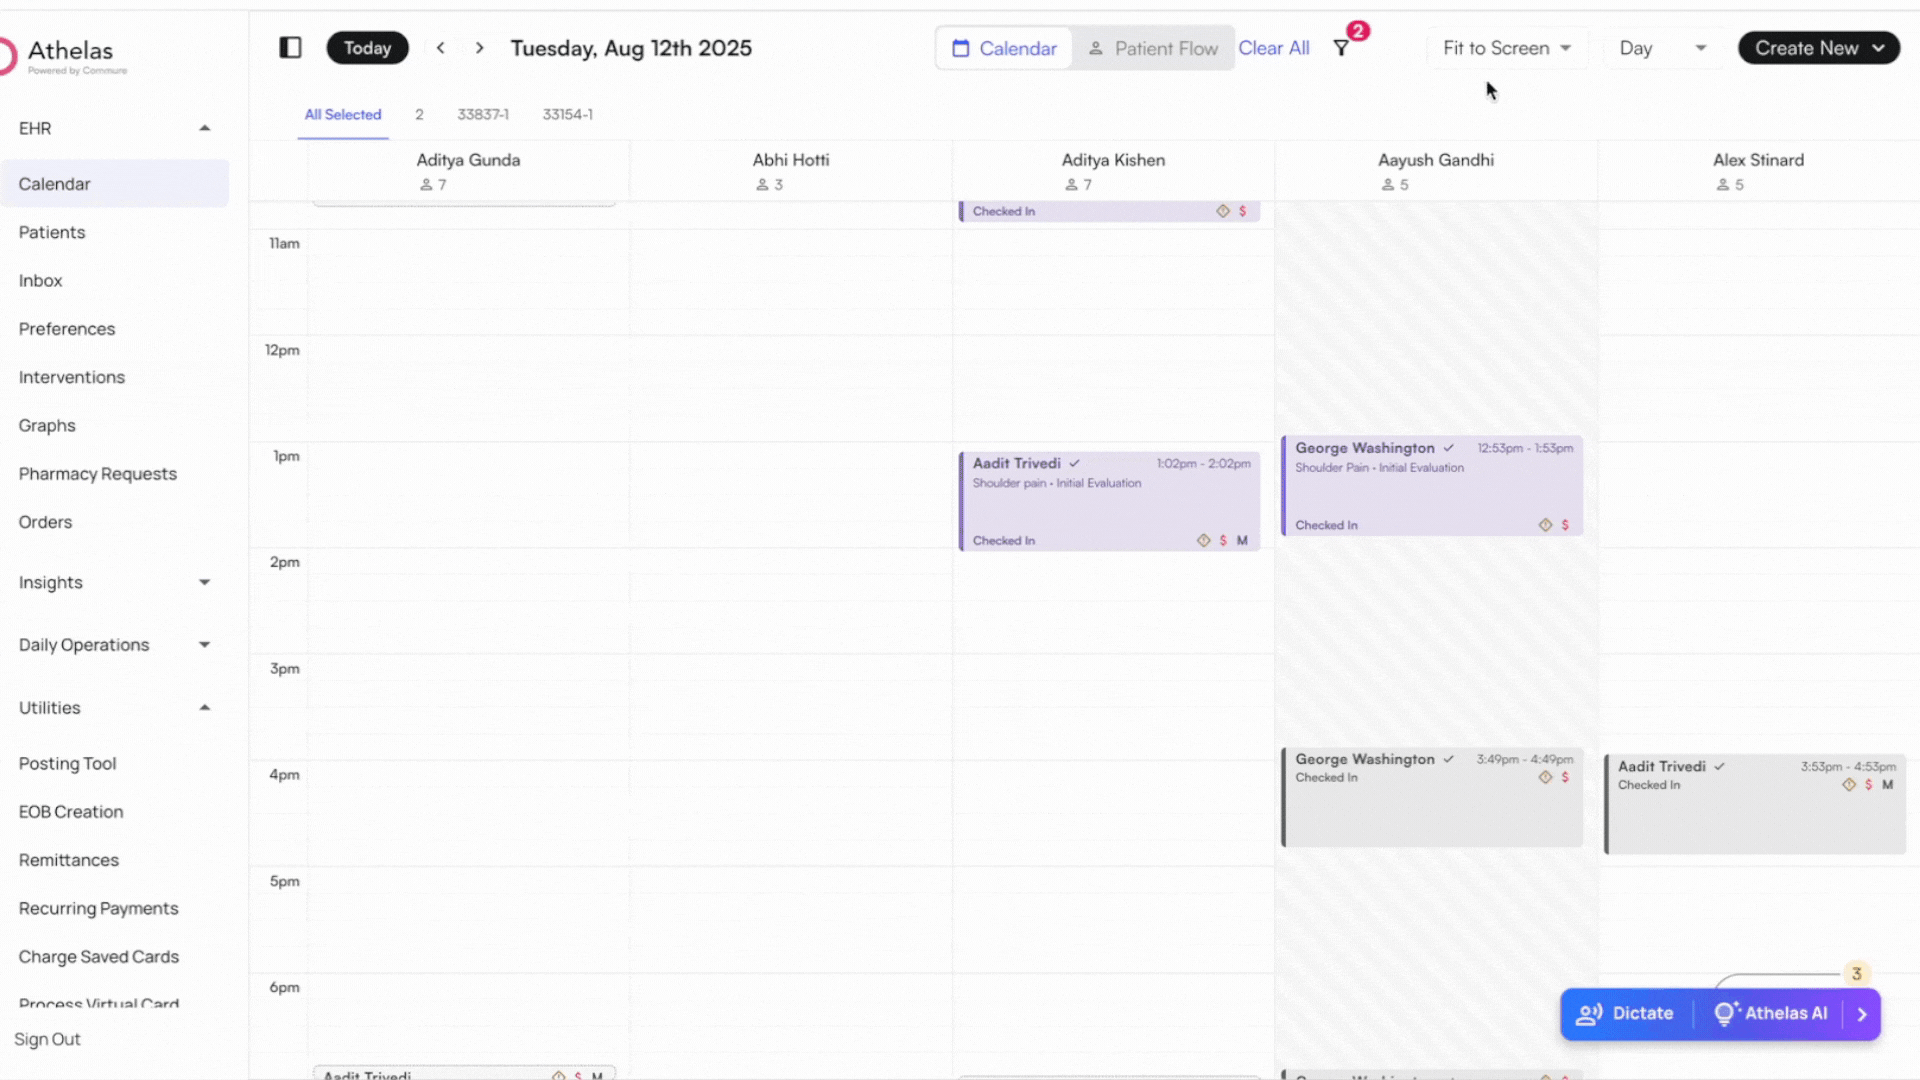
- Standard View (default): Best if most appointments are under 30 minutes.
- Compact View: Fits more appointments on the screen. Works well on large displays, but details may be cut off on smaller screens.
- Fit to Screen View: Adjusts automatically to fit the screen size for large and small screens. Shows the full schedule, but with fewer details.
✨Smart Tip: Drag and drop appointments between providers to reassign the rendering Provider
Filter Appointments
Filter Appointments
Click the Filter icon to apply up to seven filter options:
- Provider: When multiple Providers are selected, each appears as a separate column in the Calendar view.
- Facility: When multiple Facilities are selected, each appears as a tab across the top of the Calendar.
- Insurance: Show only appointments for patients whose insurance matches your selection.
- Patient: Show only appointments for specific patients you select.
- Cancellations: Hide all appointments marked as Cancelled.
- No Shows: Hide all appointments marked as No Show.
-
Weekends: Hide Saturdays and Sundays from the Calendar view (applies to Day, Week, and Month views).
Calendar Icons
✨Smart Tip: Hover over appointment icons to quickly view eligibility alerts, payment due, and insurance type.

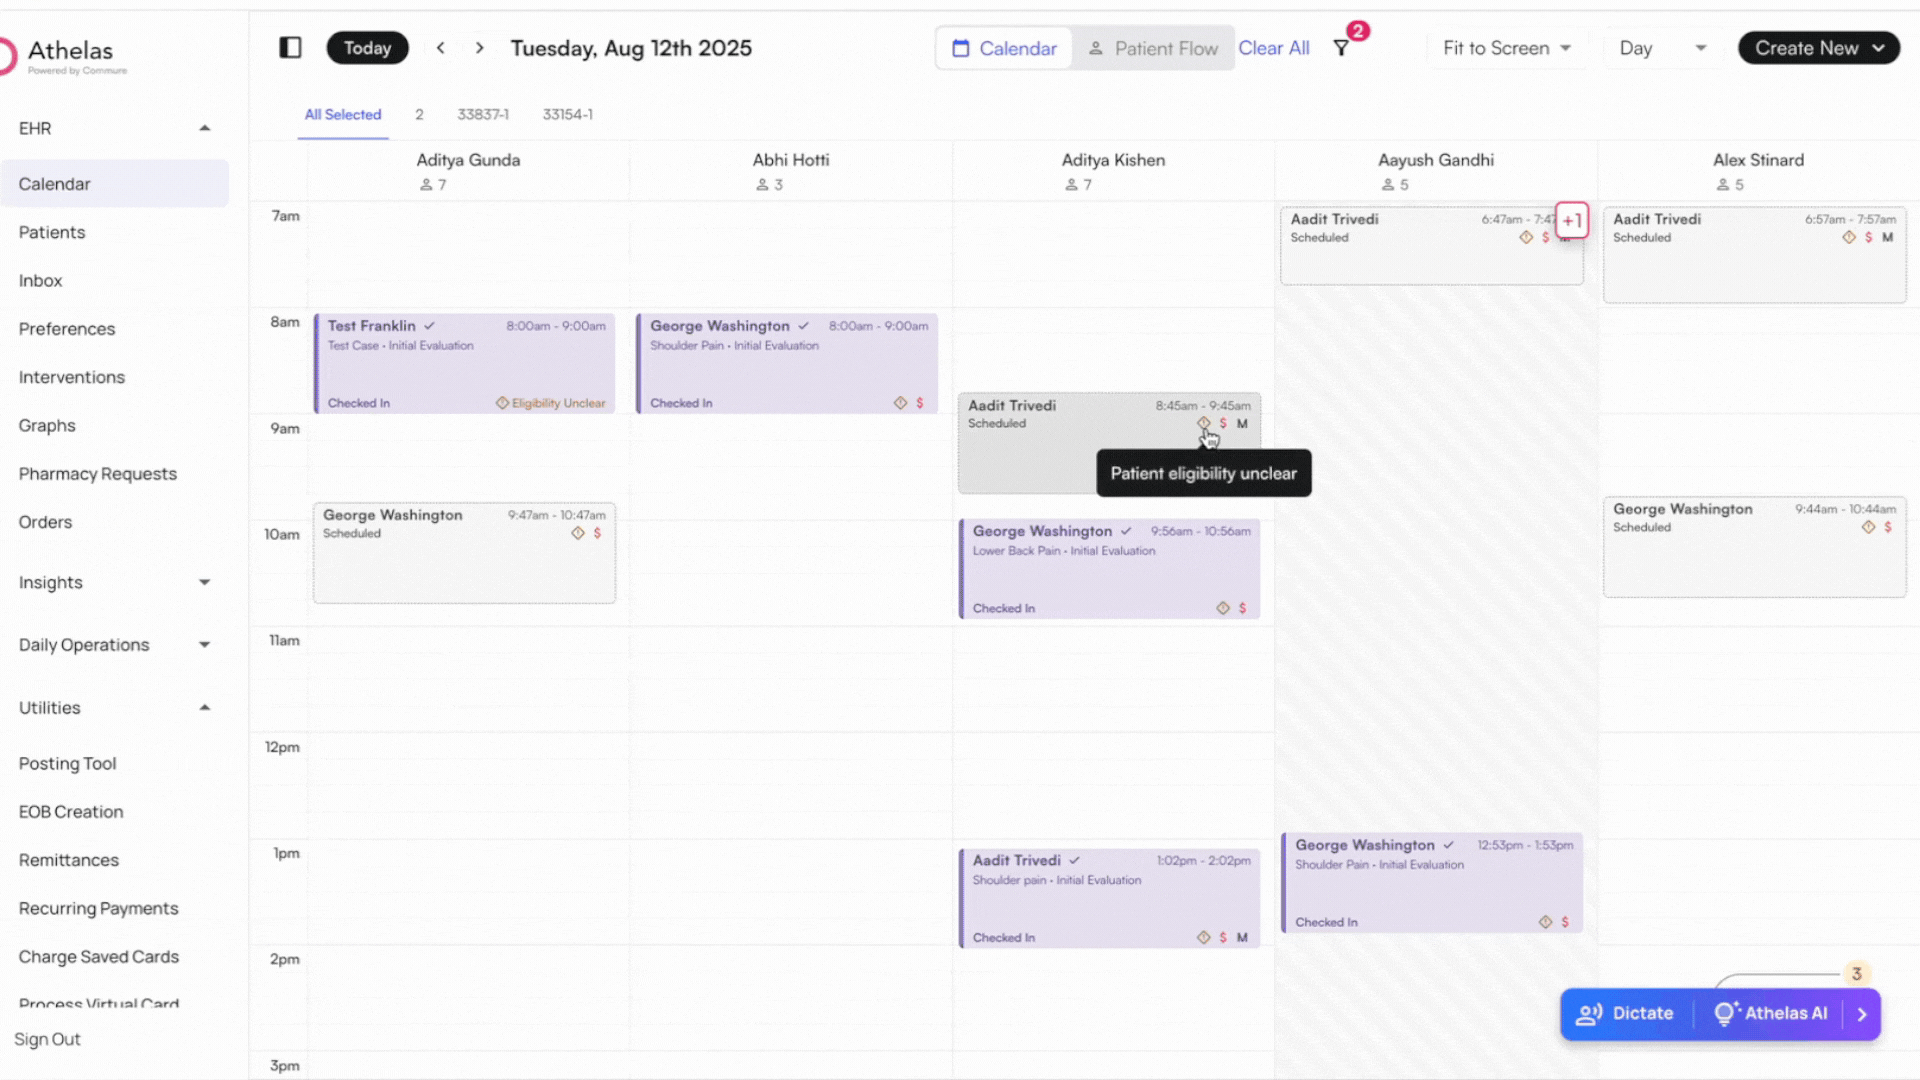
Appointment Tooltip
Hover over the appointment card to view the Tooltip.You can Expanded the tooltip by clicking on the caret icons. The tooltip displays the most helpful information first, including Case and Appointment Type, Eligibility Status and Insurance, Prior Authorization Status, Future Visits Scheduled and Appointment Status.Note: When you open the Appointment Details, you may have Visit alerts that are required to be addressed before you progress.
Appointment Stages
As appointments progress through different stages, their blocks update visually. This helps you:
- Identify canceled appointments at a glance
- Focus on active appointments (completed ones fade automatically)
Create Scheduled Blocks
Create schedule blocks for meetings, vacations, or admin time.
- Click on Create New on the top right of the screen
- New Schedule Block or click directly on the calendar
- Choose the provider, title, time/date, and recurrence
- Recurring Block: You can create a recurring block every day / week / month
-
**Allow Scheduling during Block: **Toggling on the Reserve Block allows appointments to be scheduled during blocks