Navigate the Fax Page
- From the left navigation bar, click Utilities → Faxing.
-
The Faxing page has three main sections:
- Outbound – view and manage faxes you’ve sent.
- Inbound – view received faxes (with filters for All, Unprocessed, and Processed).
- Tasks – attach follow-ups and track progress directly from any fax.
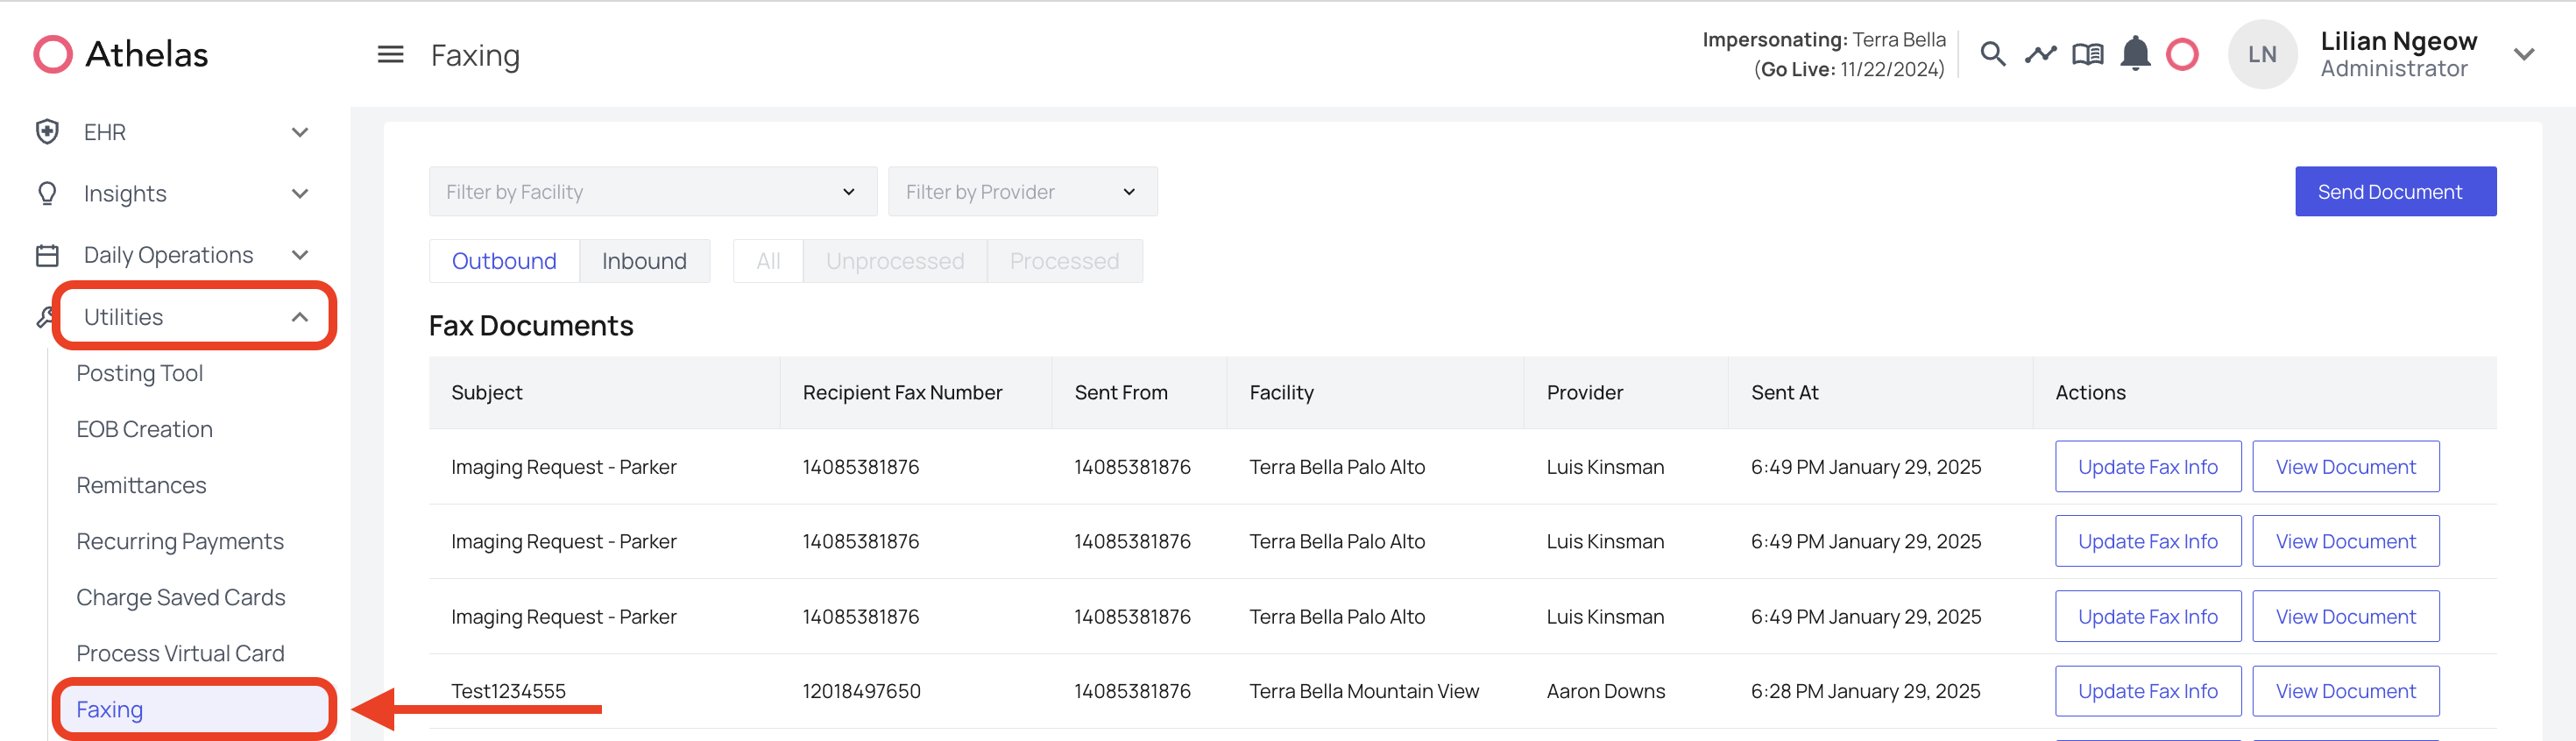
Sending an Outbound Fax
- Click Send Document in the top-right corner.
- Fill out the Send Fax side panel:
- Recipient Fax Number – enter the number you’re faxing to.
- Subject – title of the fax.
- Send From – choose a fax line from your organization’s dropdown.
- Facility / Provider [Optional] – assign context.
- Choose Files – upload one or more PDFs.
- Click Send Document.
- The fax will now appear in your Outbound list. You can track the status of the fax.

Managing Inbound Faxes
- Inbound → All: shows every received fax.
- Inbound → Unprocessed: faxes not yet linked to a patient or provider.
- Inbound → Processed: faxes that have been categorized and assigned.
- Click Update Fax Info.
- Add or edit details: Subject, Document Type.
- Link a Facility, Provider, and existing Patient.
- Click Save Edits to move it to the Processed view.
FAQs
How do I delete an attachment linked to a patient?
How do I delete an attachment linked to a patient?
If a fax was auto-linked to a patient, it cannot be deleted from the patient’s Attachments page. Instead, unlink it from the Faxing page:
- Go to Utilities → Faxing → Inbound → Processed.
- Find the fax, edit it, and either reassign it to the correct patient or delete it there.
How do I update our practice fax number?
How do I update our practice fax number?
Only an admin account can update fax lines - check here.